Colors
Theme colors can be managed under Appearance / Customize / Colors. You can either choose from predefined color schemes, pick your custom colors or create your own color scheme. The difference between Custom Colors and Custom Scheme is that the latter is much more involved and requires some coding. On the other hand, it gives you more freedom and it is the recommended way for customizing theme’s colors.
Since the Predefined Scheme and Custom Colors options should be pretty much self-explanatory, let’s describe the process of creating your own custom color scheme.
1.) Open http://yoursite.com/wp-content/themes/lore/assets/css/skins/default.scss file. It should open directly in your browser, but some browsers may download it on your disk instead.
If you are not able to access the file on your own installation, simply unpack the lore.zip installation file (please see the Theme Installation chapter to learn how to obtain it) and you will find the default.scss file under assets / css / skins folder.
2.) Copy all the code from that file to any text editor. If your browser downloaded your file, open that file in the text editor. You can use for example Notepad++ for Windows or Brackets for Mac, but any basic text editor (for example Windows Notepad) should do.
3.) Make your changes. Basically you just need to change color variables at the top of the file. The most important one is $accent1 variable on line 28. By default, it look like this:
$accent1: #74aa7b; // primary accent color
There are many online tools where you can generate a hex code for your color, for example colorpicker.com. Just change #xxxxxx to the hex code of your custom color (don’t forget that it has to start with the # sign). Feel free to change values of other color variables in the file as well.
4.) Once you’ve made your changes, copy the whole code and paste it to the SASS column on sassmeister.com (or any other online SASS to CSS convertor). Please note that any typo in your syntax may lead to an error.
5.) Copy the generated code from the CSS column.
6.) Make sure the child theme is active under Appearance / Themes.
7.) Go to Appearance / Editor, set Select theme to edit: to Lore Child and paste your generated CSS after the “/* Add your custom css after this comment */” comment.
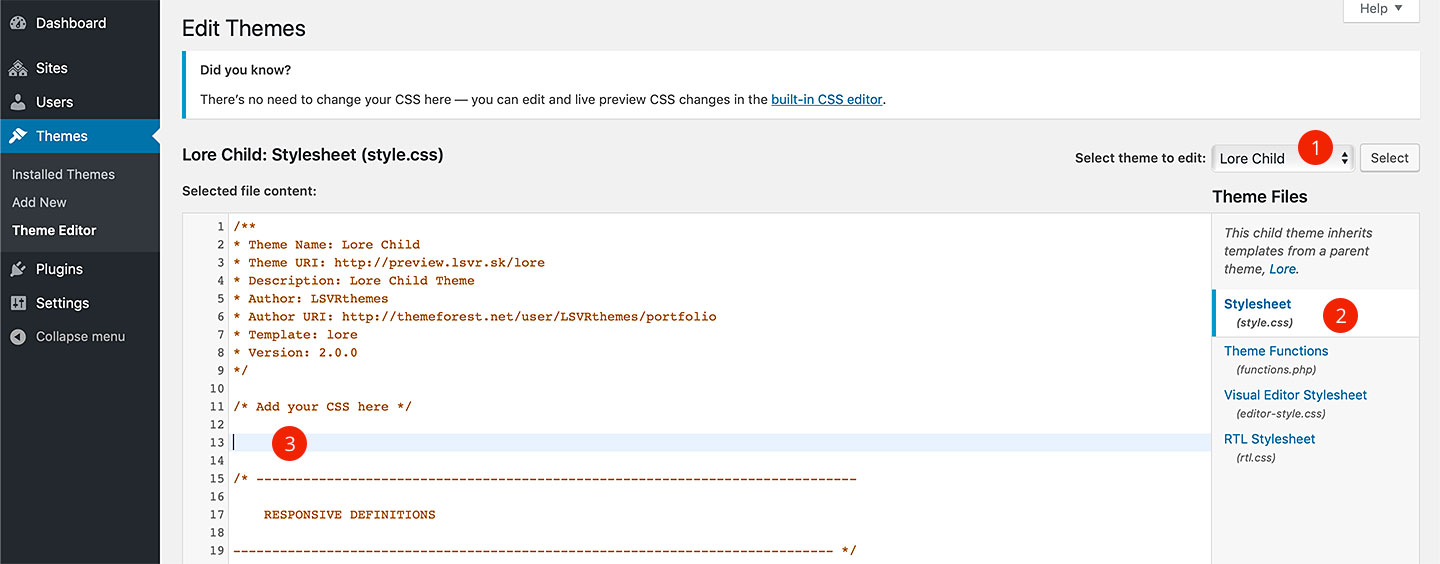
2. Select the stylesheet file
3. Put your CSS here and save your changes
8.) Next, repeat all the steps but now with the default editor color scheme file – http://yoursite.com/wp-content/themes/lore/assets/css/skins/default.editor.scss. Again, if you are not able to access it on your installation, unzip the lore.zip file and you will find it under assets / css / skins folder.
9.) There is one difference though, the final generated editor CSS code have to be pasted into editor-style.css file instead (which is also accessible under Appearance / Editor).
10.) Last step: go to Appearance / Customizer / Colors, switch Set Colors By option to Custom Scheme and save.
Author Bio